 |
I received this email the other day and wanted to post the answer so I don’t have to respond again, not that I mind, its just easier.
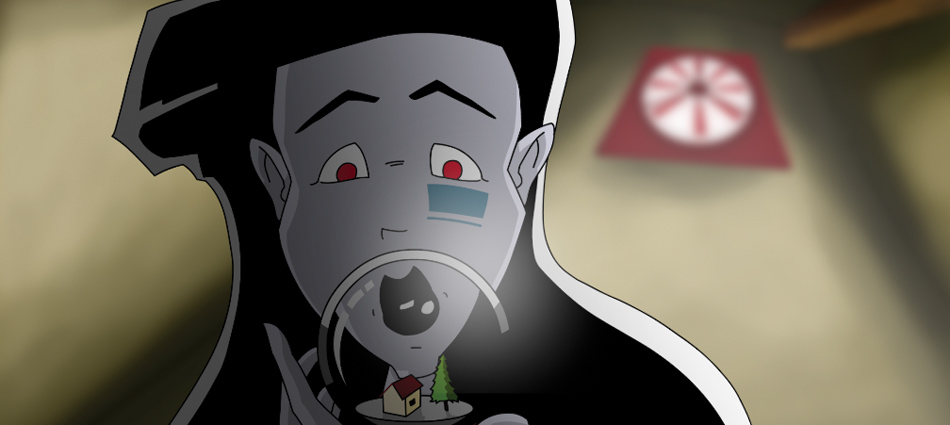
I made “I Am” back in 2003 so some of what I did is a bit outdated. That said the my setup at the time was as follows: In one shot I would use most of what I just listed. The whole film was created in 1080p also known as fill HD. The resolution is 1080x 1920 and the frame rate was 24 fps using square pixels. The nice thing about 1080p other than it looking amazing, is it transfers t film really nice. Also what is nice is it converts really well into almost any other format, DVD, 720p, 1080i or web.First I sketched out the layout of what I wanted the shot to be to get an idea of character placement as well as a general idea of the background. I had a friend, Amy Hay, help me with the backgrounds and we would trace the layout and refine it on tracing paper. Then I would scan that in and paint it in Photoshop. Once the background was prepped, I would import a low res JPEG into Flash. I used that as a guide to tell me where objects were and where I could place my characters.This is the point were the Cintiq comes into play. All the animation was done “paper-less” or all digital. I suggest that you first create a layer in Flash that is guided out, do all your sketch work on that. After you have all your animation the way you want it, create another layer on top and do your complete line work on that. I used the “pencil” tool extensively in “I Am”, though I regret it now, a more weighted stroke would have looked a whole helluva lot better. You guide out the sketch layer, so when you do the final render it doesn’t show.Flash has a major flaw, when you export animation from it via Quicktime, it will not export an alpha channel (backgound-less). The way around this is you export the animation as an image sequence using the PNG format. PNG has no compression artifacts, unlike jpeg, supports alphas and also is sometimes 1/10 the size of a Tiff at the same image size. I use them for everything.So once I have the PNG sequence for the shot in a folder I can then port the video to another application, After Effects. Before I get into AE let me say a few things about file structure. I had each shot in a different folder. The folders were labeled something like “Shot001” ect. Inside those there were 5 other folders, PSD, FLA, RENDER, AE, and BITMAP. That means for every shot I had a different FLA file as well as different AE files. The reason for this is file corruption and hard drive failure. The more files you have the less likely all of them will get corrupted. Also it makes backing up easier.In AE I composited the background and the animation sequence together. Then applied all the lighting effects I wanted to use. After the shot was complete I rendered it as a 1080p MOV file using no compression, Animation compression is also a good substitute if space is an issue. You render as you go along, that way when you complete the film you don’t have to render everything all at once.Once the render is complete I moved the final render into Final Cut. I have the Final Cut project setup with the animatic on one layer and the final shots on the other. The reason you do this is so at any time that you want to show off the entire film, or if you just want to see how it all fits, you can render the film out an view it.The final render of the film, for backup, was an PNG swquence along with a final AIF of the audio file. The sequence is much easier to breakup onto multiple DVD’s than a single movie file. Also because of the film being uncompressed HD the final sequence took up 8 DVDs.And thats it. I hope soon to add to this and talk a bit more about the Cintiq as well as my current film “Automatic Doors”. |


Thanks for the post! Exactly what I was looking for and more!
No problem, I wanted to write something on this at some point any way. Just needed to get the motivation to do it.
HARD KOHR baby!!!….1080p in 2003? whoa. you put the ‘progressive’ in progressive scan…
Tell me about it. Because of how slow the system was it took some shots as long as 36 hours to render 16 seconds. Mind you I think I had 10 blurs on that shot, but still it took a lot of time. Its amazing the speed that you can get in renders these days. Especially with addons such as Nucleo Pro and Quad core and 8 core processing. I think I remember that first DIMM of 512 MB was almost $500. OI!